.png)
Create your Own Custom Font without Special Software
- Leanore

- Jul 5, 2018
- 2 min read

I bet you've already sifted through an obscene number of articles detailing to you how to use Adobe Illustrator or Photoshop to create your own Fonts for personal or commercial use. Let me assure you right this moment that you won't need to download any special software or purchase any applications for this method of creating your own font. This method can be done either with traditional art tools, a printer, and a scanner or camera, or it can be done using any digital art program you already have installed on your device. Sounds simple, right? That's because it is.

Step 1. Become a 'Calligraphr'
The first thing you're going to want to do is make a free account on the website Calligraphr. This website allows you to render your own custom font without having to have Photoshop or Illustrator.

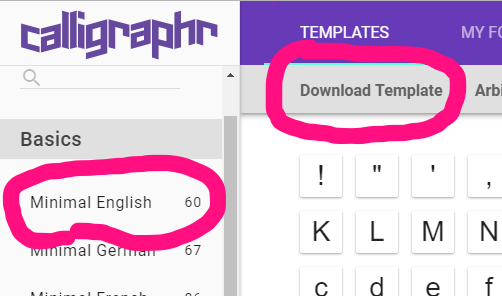

Step 2. Download the Correct Template
For the sake of this Tutorial, we're going to download the 'Minimal English' Template. You're going to want to make sure you have the PNG format selected and the "Characters as Background" box check to get the optimal template for our purposes.
Step 3. To Print or Not to Print?
If you're going to be creating your font using traditional art tools, then you'll need to print out the template. If you're going to be using a digital art program of your choosing, you'll need to open the PNG file in that program to get started.
Step 4. Literally Draw Your Own Font
The template is pretty self explanatory. You're going to draw each character of the alphabet for your new custom font. This is where you can either get creative or create the perfect font for your current project. That's the beauty of creating your own font.
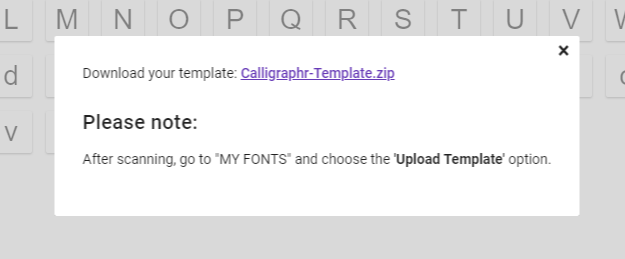
Step 5. Scan or Upload the Template
When you're finished, you're going to need to re-upload the filled-in template to the website in order to render the final product.

Step 6. Build your Font
This next step is super easy. Once the template has uploaded and you can see your font preview - click the "Build Font" button. Enter the Font Name of your Choosing. If you've created something similar to "Wingdings" rather than an actual lettered font, then you might want to select "Randomize Characters". Personally, I've never clicked it. Once that's all settled, click "Build" That's when the magic happens.

Step 7. Enjoy your New Font!
Once you've clicked the download links, you're all done. You've officially created your own, fully functional, custom font. You've done it for free and you didn't even have to buy Adobe Creative Suite.


Comments